Want to learn how to scrapbook? You're in the right place. Scrapbooking is a creative, hands-on way to preserve your most meaningful photos and memories in beautiful albums you'll treasure for a lifetime. This guide walks you through everything you need to get started -- from choosing your supplies to completing your first page. No experience required.
What Is Scrapbooking?
Scrapbooking is the art of preserving personal and family history through decorated photo albums. Modern scrapbooking combines printed photographs with decorative papers, embellishments, journaling, and design elements to create pages that tell the story behind each picture.
Unlike a plain photo album, a scrapbook adds context and emotion -- the funny thing your toddler said that day, how the autumn air smelled at the apple orchard, why that random Tuesday turned out to be unforgettable. It's part art, part memory keeping, and entirely personal.
Scrapbooking has evolved significantly over the years. Today's crafters use everything from traditional paper and adhesive to digital cut files and die-cutting machines. But at its core, scrapbooking is still about one thing: telling your story in a way that brings you joy.
Scrapbooking Supplies You Need to Get Started
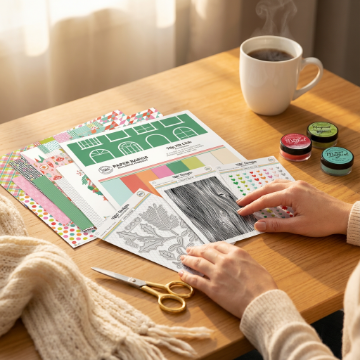
You don't need a craft room full of supplies to begin. Here are the essential scrapbooking supplies for beginners, organized by category:
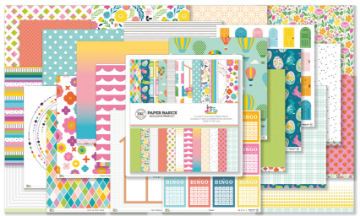
Paper
Patterned paper forms the decorative backdrop for your layouts. Patterns range from subtle geometrics to bold florals. You'll also need solid cardstock for matting photos, creating borders, and providing contrast against busy patterns. Start with a few coordinating sheets rather than buying entire paper pads.
Adhesive
A tape runner is the workhorse adhesive for scrapbooking -- fast, clean, and strong. Glue dots work well for attaching embellishments. Foam adhesive squares or dots add dimension by lifting elements off the page. You'll use all three regularly, but a tape runner alone will get you through your first pages.
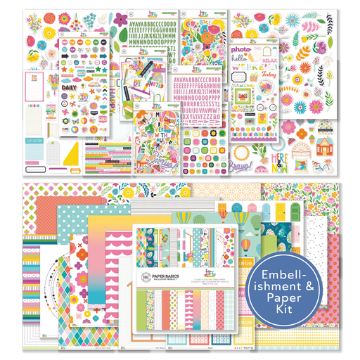
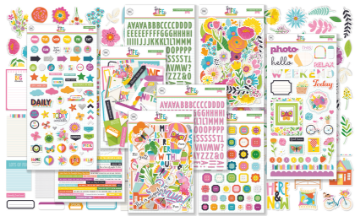
Embellishments
Embellishments are the finishing touches that bring your pages to life. Stickers, enamel dots, sequins, die cuts, chipboard shapes, washi tape, and puffy stickers all add personality and visual interest. Don't worry about building a huge collection -- a single coordinated set is enough to start.
Cutting Tools
A basic paper trimmer gives you clean, straight cuts. Small detail scissors handle curves and fussy cutting. If you own a Cricut or Silhouette cutting machine, you can use SVG cut files and metal dies to cut intricate shapes -- but these aren't required for beginners.
Stamps and Ink
Stamps let you add titles, dates, sentiments, and decorative elements. A basic black dye ink pad and a set of alphabet stamps will serve you well. As you grow, you'll discover that stamp sets designed around themes make page creation even faster.
 Tutorial: Mixed Media + Cutfile Layout | Feb 2026 Hip K
  Tutorial: Scrapbook Layout Process | Jan 2026 Hip Kits
 Photos and Albums
Print your photos at 4x6 or smaller for standard 12x12 layouts. Pocket scrapbookers often use 3x4 prints too. A 12x12 post-bound or ring-bound album with page protectors is the most popular choice. For a simpler approach, 6x8 albums are quicker to fill and less intimidating for beginners.
Pro tip: The easiest way to get all of these supplies at once is with a scrapbook kit. Everything arrives pre-coordinated, so you can skip the shopping and start creating immediately.
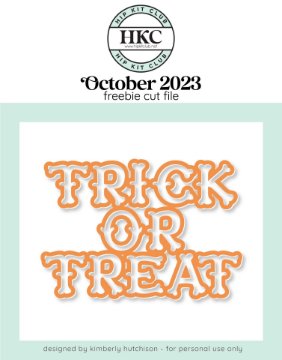
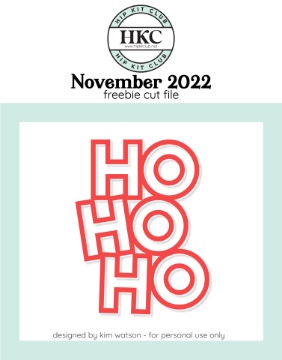
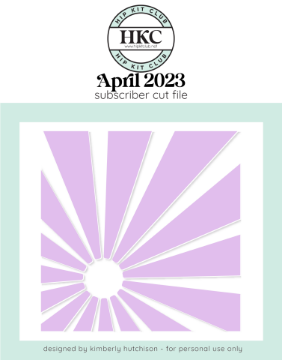
Free SVG Cut Files
Download free designs for your Cricut, Silhouette, or Brother. SVG, PNG, DXF, and JPG formats.

How to Scrapbook Step by Step
Here's a simple, repeatable process for creating a scrapbook page from start to finish. Follow these steps and you'll have a finished layout in about 30-60 minutes.
- Choose your photos. Select 1-4 photos that tell a story together. Don't try to fit every shot from an event onto one page -- choose the best and save the rest for additional pages.
- Pick your theme and colors. The photos will suggest a natural palette. A beach trip calls for blues and sandy tones. A fall outing works with warm oranges and reds. If you're using a monthly kit from Hip Kit Club, the color coordination is already done for you.
- Select your papers. Choose 1-2 patterned papers and 1 solid cardstock that complement your photos. The cardstock serves as your base, and patterned papers add visual interest behind or around your photos.
- Arrange before you adhere. This is the most important step beginners skip. Lay everything out on your page -- photos, papers, title, embellishments -- and move pieces around until you're happy with the composition. Only then start adhering.
- Mat your photos. Cut a piece of cardstock slightly larger than each photo and adhere the photo on top. This simple frame makes photos stand out against patterned backgrounds and gives your page a polished, intentional look.
- Add your title and journaling. Every page benefits from a title and at least a sentence or two of journaling -- the date, who's in the photo, what was happening, and why it matters. Future you will be grateful for these details.
- Embellish. Add stickers, enamel dots, die cuts, or other accents. Start with a few pieces near your title or photo corners. Less is more when you're starting out -- you can always add more, but you can't easily take things away.
- Protect your page. Slide the finished layout into a page protector and add it to your album. This keeps your work safe from fingerprints, dust, and accidental damage.
Recent Favorites
Exclusive papers, embellishments, dies, and more -- curated monthly and shipped to your door.
Basic Scrapbook Layouts for Beginners
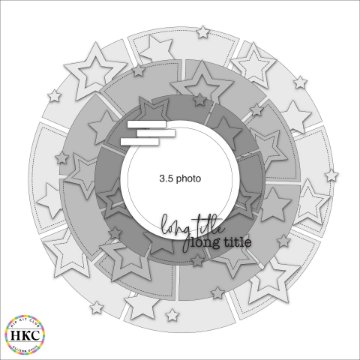
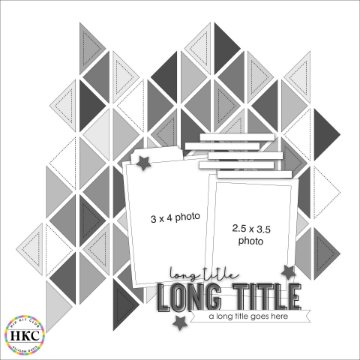
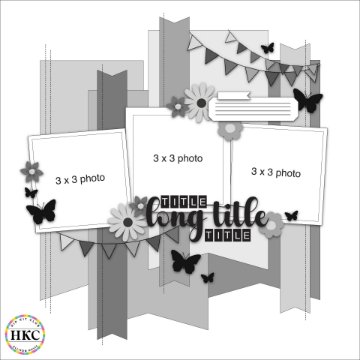
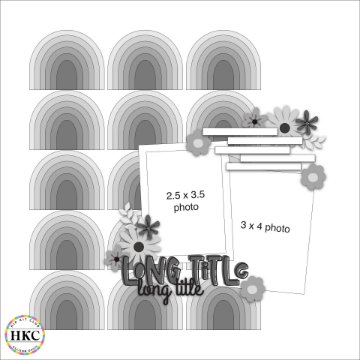
Not sure how to arrange elements on your page? These five beginner-friendly layout formulas work every time. For even more design inspiration, check out our scrapbook ideas collection.
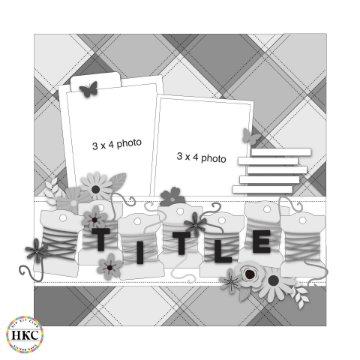
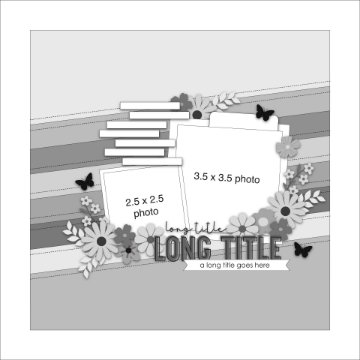
- Single-photo spotlight: One large photo (5x7) centered on the page. Title above, journaling below, embellishments in the corners. Clean, simple, and impactful.
- Two-photo balanced: Two 4x6 photos placed side by side or stacked vertically. A strip of patterned paper runs behind them. Title on one side, journaling on the other.
- Multi-photo grid: Four or six photos arranged in a tidy grid with equal spacing. A title strip runs across the top or bottom. The grid structure does the design work for you.
- Full-bleed photo: Print one photo at 8x10 or larger and use it as the page background. Layer a journaling card and small embellishments directly on top. Dramatic and easy.
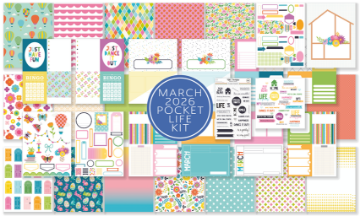
- Pocket page: Use a Pocket Life page protector with pre-sized pockets. Fill each slot with a photo, journaling card, or ephemera piece. No adhesive, no arrangement decisions -- just slip and go.
 Tutorial: Mixed Media, Paper Piecing, Machine Stitching
  Tutorial: Adding Texture with Layers | January 2026 Hip
 Scrapbooking Techniques to Try
Once you're comfortable with basic pages, these scrapbooking techniques will help you elevate your layouts:
- Layering: Stack papers, photos, and embellishments at different heights using foam adhesive. Layering creates depth and visual interest that flat pages can't match.
- Ink distressing: Run a dye ink pad along the edges of your papers and photos for a soft, vintage look. Brown and black inks work for an aged effect; coordinating colors add subtle definition.
- Fussy cutting: Carefully cut out printed images from patterned paper -- flowers, animals, shapes -- and use them as custom embellishments. It's free and perfectly coordinates with your page.
- Stamping: Use stamps for titles, borders, background patterns, and sentiments. Combine different ink colors and stamp sizes for variety. Stamps from your monthly kit are designed to coordinate with that month's papers.
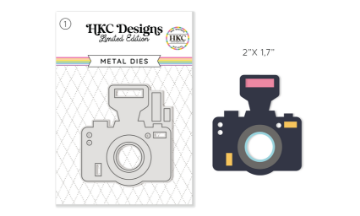
- Die cutting: Use metal dies with a manual or electronic cutting machine to cut precise shapes from paper. Titles, borders, and decorative elements are all popular die-cut projects. Digital free cut files work with Cricut, Silhouette, and Brother ScanNCut machines. See our cut files guide for details.
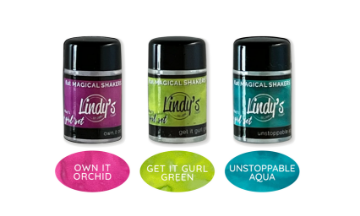
- Mixed media: Add texture with gesso, acrylic paint, ink sprays, or modeling paste. Mixed media techniques transform a flat scrapbook page into a tactile art piece. A Color Kit provides coordinating inks and markers to experiment with.
Traditional vs. Pocket Scrapbooking
There are two main approaches to scrapbooking, and both are equally valid. Choose the one that fits your lifestyle -- or do both.
Traditional (12x12)
Full-page layouts with photos, papers, and embellishments arranged in custom designs. Offers maximum creative freedom. Takes 30-60 minutes per page. Ideal for milestone events and photos you want to showcase in detail.
Pocket Style (6x8 or 12x12)
Pre-divided page protectors where you slip in photos and journaling cards. Fast and simple -- 5-15 minutes per page. Perfect for weekly documentation and everyday moments. No design skills needed.
Many scrapbookers use both styles -- traditional for special events and pocket style for everyday life. Hip Kit Club offers kits for both approaches, so you can switch between them as your mood and schedule allow.
Free Scrapbook Layout Sketches
Printable page sketches to jumpstart your next layout. Just print and create.


Common Beginner Mistakes (and How to Avoid Them)
Every scrapbooker makes mistakes early on. Here are the most common ones and how to avoid them:
- Using too many patterns: More isn't always better. Stick to 1-2 patterned papers per page plus a solid cardstock base. Using a scrapbook kit helps because every pattern in the kit is designed to work together.
- Skipping the journaling: Photos without context lose their meaning over time. Even a single sentence -- who, what, when, why -- makes the page infinitely more valuable to future generations.
- Not printing photos: The biggest barrier to scrapbooking is having no printed photos. Set a monthly reminder to print your favorites. Many online services offer affordable 4x6 prints delivered to your door.
- Perfectionism: Your pages don't need to look like a magazine. Done is better than perfect. The goal is preserving memories, not creating gallery art. Give yourself permission to be imperfect -- your future self will treasure these pages regardless.
- Buying random supplies: Purchasing individual items without a plan leads to a collection of supplies that don't coordinate. Monthly kits solve this completely -- everything matches, nothing is wasted, and you're always inspired by fresh supplies.
Frequently Asked Questions
How do you start scrapbooking for beginners?
Start by printing a few of your favorite photos, then get a basic set of supplies: cardstock, patterned paper, adhesive, and a few embellishments. A scrapbook kit is the easiest way to begin because everything is pre-coordinated. Choose a simple layout formula like a single-photo spotlight, arrange your elements before adhering, and add a title and brief journaling. Your first page doesn't need to be perfect -- just start creating.
What supplies do I need to start scrapbooking?
The essentials are: an album with page protectors, cardstock, patterned paper, adhesive (tape runner is best), scissors or a paper trimmer, and printed photos. Embellishments like stickers and enamel dots, stamps, and a pen for journaling will make your pages more interesting. A monthly kit subscription from Hip Kit Club provides all of these in one coordinated package.
How much does it cost to start scrapbooking?
You can start with as little as $20-30 for basic supplies: a pack of cardstock, a tape runner, and printed photos. A monthly kit subscription typically costs $30-50 and gives you a complete set of coordinated supplies. The ongoing cost depends on how often you create and whether you buy individual supplies or subscribe to kits. Kits generally offer better value than buying supplies separately.
Is scrapbooking still popular?
Absolutely. Scrapbooking has seen a significant resurgence in recent years, driven by a growing desire for hands-on creative activities in an increasingly digital world. The craft has evolved with new techniques, modern design trends, and digital tools like cutting machines. Kit subscription clubs have made it more accessible than ever. Scrapbooking communities thrive on social media, with millions sharing their creations on Instagram and YouTube.
What is the easiest way to scrapbook?
Pocket-style scrapbooking is the easiest method. You use page protectors with pre-sized pockets and simply slip in photos and journaling cards -- no design skills, adhesive, or layout planning required. Combined with a Pocket Life Kit that includes pre-made cards and ephemera, you can create beautiful memory-keeping pages in just minutes.
Do I need a cutting machine to scrapbook?
No, a cutting machine is not required. Millions of scrapbookers create beautiful pages with just scissors and a basic paper trimmer. Cutting machines like Cricut and Silhouette are useful for cutting intricate shapes and titles, but they're an optional upgrade, not a necessity. If you do have one, Hip Kit Club offers over 1,000 SVG cut files designed for scrapbooking.
How do I organize my scrapbook supplies?
Keep your supplies organized by type: papers together, embellishments together, adhesives together. Clear stackable containers and drawer organizers work well. Many scrapbookers organize by kit month so all coordinating supplies stay together. Start small and add organization as your collection grows. The advantage of kit subscriptions is that everything arrives already coordinated, reducing the need for extensive organization.
What size scrapbook album should a beginner use?
The 12x12 inch album is the industry standard and offers the most design space. It's the most popular size and gives you room for multiple photos, embellishments, and journaling. However, 6x8 albums are great for beginners who find 12x12 intimidating -- smaller pages are quicker to complete and still look beautiful. Both sizes work with pocket-style and traditional layouts.
Can I scrapbook digitally?
Yes, digital scrapbooking uses software to create layouts on a computer, which are then printed as physical pages or kept as digital files. It offers unlimited undo, no physical supply storage, and easy sharing. However, many crafters prefer the tactile experience of traditional scrapbooking -- the feel of paper, the satisfaction of cutting and adhering, and the meditative quality of working with your hands. Both approaches are valid ways to preserve memories.