One of the best things about monthly scrapbook kits is that each new kit brings fresh inspiration. But sometimes you open a kit and wonder: "What should I make?" We've got you covered with 10 scrapbook layout ideas that work with any monthly kit.
These designs range from beginner-friendly to more advanced, and each one makes the most of the coordinated papers, embellishments, and colors in your kit. For a complete overview of kit types and how to choose, see our complete guide to scrapbooking kits.
1. The Classic Grid
Arrange 4 same-sized photos in a 2x2 grid on a patterned paper background. Mat each photo with coordinating cardstock and add a title strip across the top. Simple, clean, and always effective. This is the perfect starting layout for beginners.
2. One Big Photo Focus
Let one stunning photo take center stage. Enlarge your best shot to 5x7 or 6x8, place it on a layered paper background, and surround it with embellishments from your embellishment kit. Add a hand-stamped or die-cut title below.
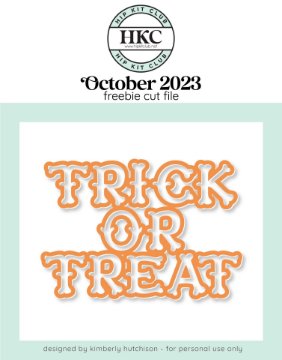
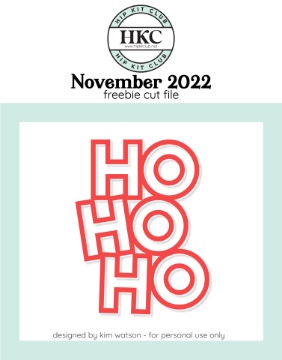
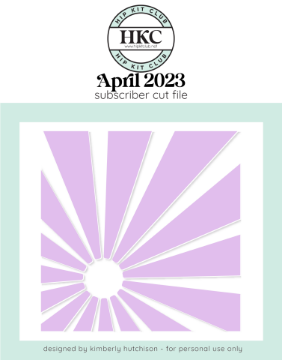
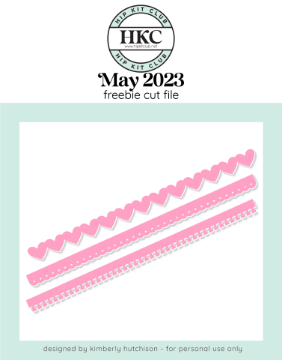
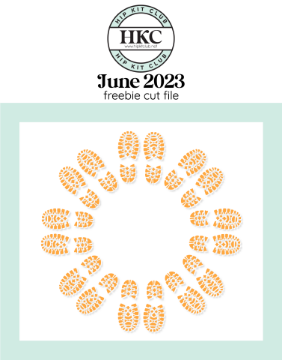
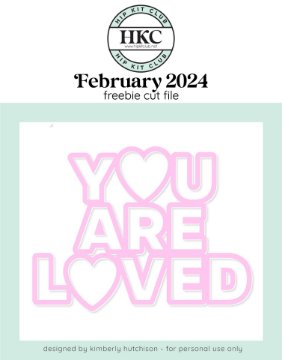
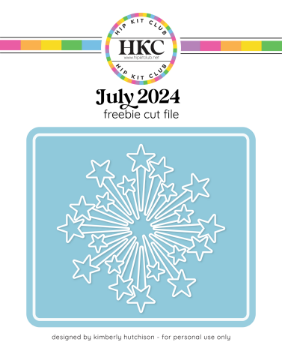
Free SVG Cut Files
Download free designs for your Cricut, Silhouette, or Brother. SVG, PNG, DXF, and JPG formats.

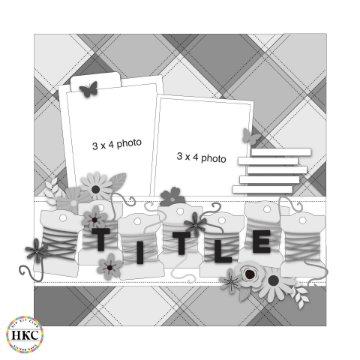
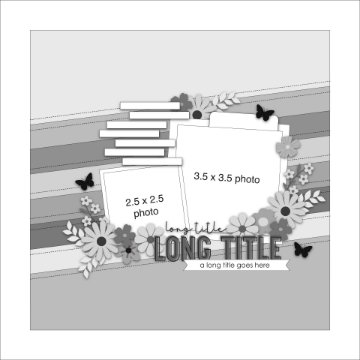
3. The Strip Layout
Cut your patterned papers into 2-inch horizontal strips and layer them across the page. Place photos on top of the strips, overlapping slightly. This creates a modern, dynamic look that uses every paper in your kit.
 Tutorial: Mixed Media + Cutfile Layout | Feb 2026 Hip K
  Tutorial: Scrapbook Layout Process | Jan 2026 Hip Kits
 4. Pocket Page Storytelling
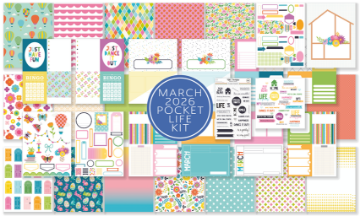
Use your Pocket Life Kit to create a quick story page. Fill each pocket with a photo, journaling card, or piece of ephemera from the event. The pre-sized cards make this layout practically effortless.
Recent Favorites
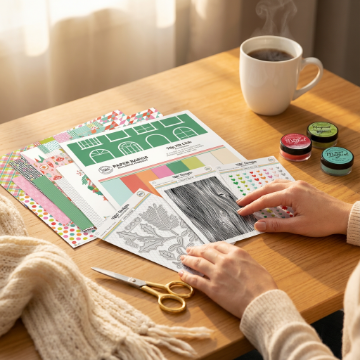
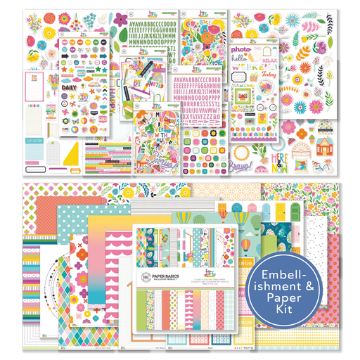
Exclusive papers, embellishments, dies, and more -- curated monthly and shipped to your door.
5. The Diagonal Design
Tilt your photos and paper blocks at a slight angle (about 15 degrees) for an energetic, playful feel. Anchor the design with a horizontal title at the bottom. This works especially well for action shots, kids' pages, and travel layouts.
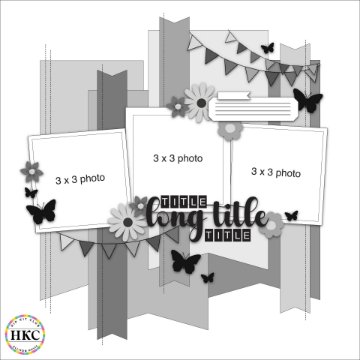
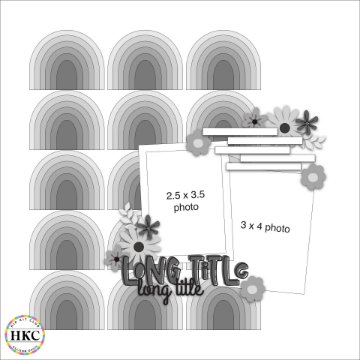
6. Cluster and Layer
Create a cluster of embellishments in one corner of the page -- layered stickers, enamel dots, die cuts, sequins, and a title all grouped together. Balance the cluster with a large photo on the opposite side. The embellishments from your kit are designed to layer beautifully.
Free Scrapbook Layout Sketches
Printable page sketches to jumpstart your next layout. Just print and create.


7. The Minimalist Page
Use a single sheet of white or light cardstock as your background. Add one matted photo, a simple title, and just 3-5 carefully placed embellishments. Sometimes less really is more. This layout lets your photos and journaling shine.
 Tutorial: Beginning a New Layout | January 2026 Hip Kit
  Tutorial: Creating a Paper Frame – Jessica Michaels – F
 8. Paper Piecing
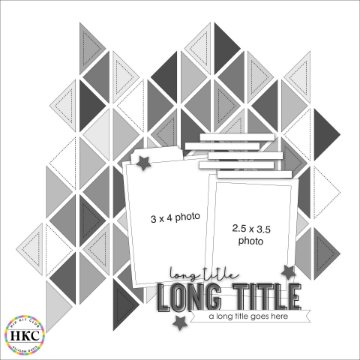
Cut shapes from your patterned papers -- circles, triangles, hexagons -- and piece them together like a quilt behind your photos. This technique uses up smaller scraps and creates a visually rich background. Use your cut files and a cutting machine for precise shapes.
9. Double-Page Spread
Use two facing 12x12 pages for a cohesive spread that tells a bigger story. Extend your background paper across both pages, place photos on each side, and connect them with a title banner that spans the center. Perfect for vacations, holidays, and milestone events.
10. Mixed Media Collage
Layer everything: torn paper edges, paint splatters, washi tape borders, stamped images, and die-cut shapes. Add texture with foam adhesive between layers. This is the layout where you can truly experiment and break rules. The coordinated colors in your kit keep it from looking chaotic.
Making the Most of Your Monthly Kit
The key to getting the most from your monthly scrapbook kit is to let the supplies inspire you. Every kit has a color story and a mood -- lean into it. Try a layout style you haven't attempted before. And remember: there are no mistakes in scrapbooking, only happy accidents that make your pages uniquely yours.
Join Hip Kit Club -- Monthly Scrapbook Kits Delivered
Curated papers, embellishments, and exclusive designs. New kit every month.
Learn About Membership