
Hi friends! I am so excited to share this stunning monochromatic mixed media layout from the talented Angelica de Bruin, created with the April 2026 Hip Kits. Angelica leans all the way into a moody, sophisticated blue palette and walks us through some of my favorite quick and easy mixed media techniques along the way. The result is a layout with so much texture and depth you will want to touch every inch of it.
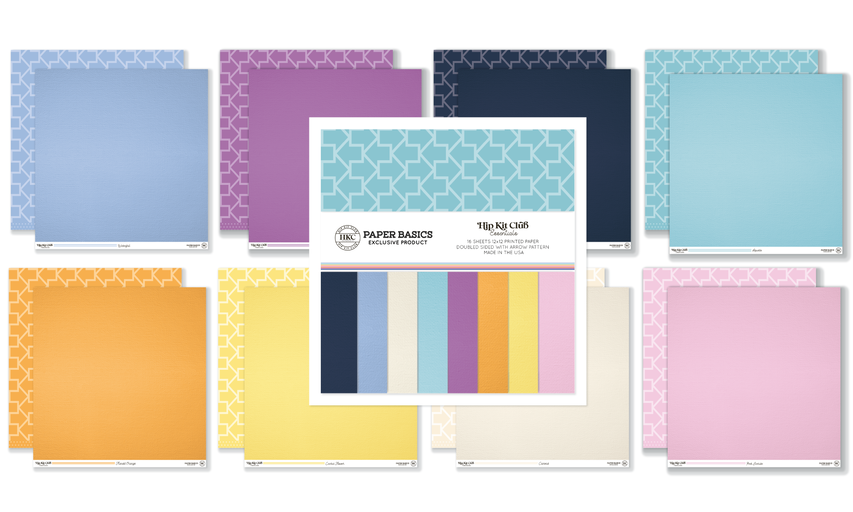
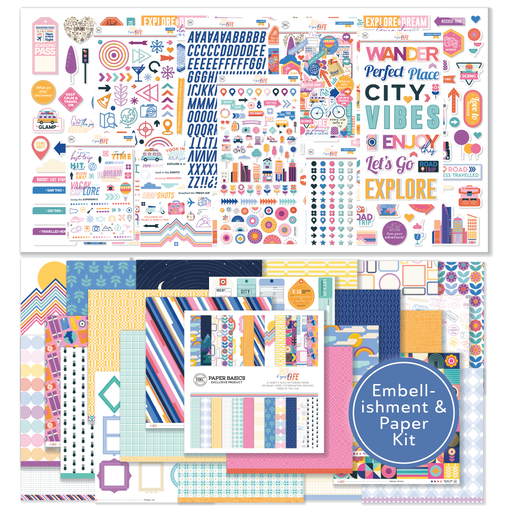
What I love about Angelica‘s approach is how approachable her techniques are. She builds a splattered, paint-textured background, layers stenciled grunge paste right over the top, then frames her monochromatic photos with dotted navy borders and travel-themed ephemera tabs. The patterned paper from the April 2026 Color Kit and the cardstock from the April 2026 Cardstock Kit do all the heavy lifting for the color story, and the ephemera and stickers from the April 2026 Main Kit (with Patterned Paper) pull everything together into a finished page that feels like a getaway. Grab your April kits and follow along!
Step-by-Step Tutorial
Step 1: Create a Splattered Paint Background
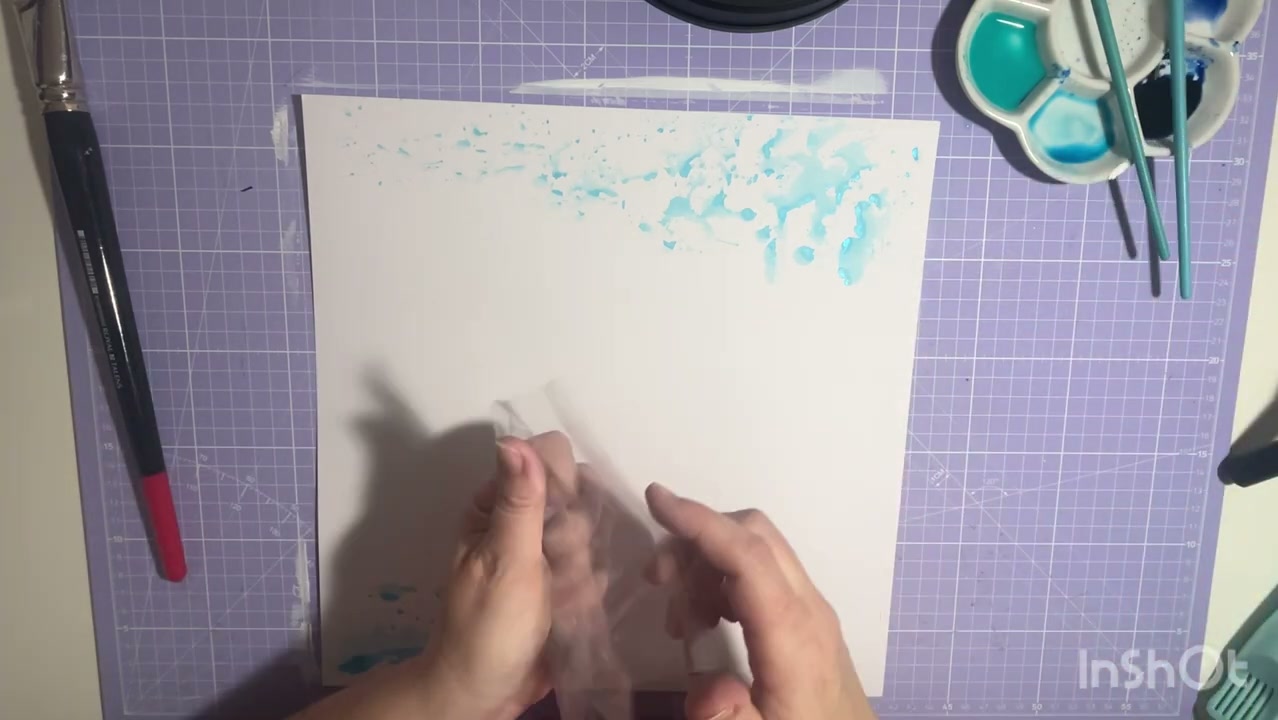
Start with a piece of white cardstock and grab a small piece of clear plastic or acetate. Brush teal and deep navy paint onto the plastic, then press it onto the upper portion of your cardstock to transfer a beautiful splattered, textured pattern. Repeat across the top of the page and add a smaller drift of splatter along the bottom edge for balance.
Step 2: Add Stenciled Grunge Texture
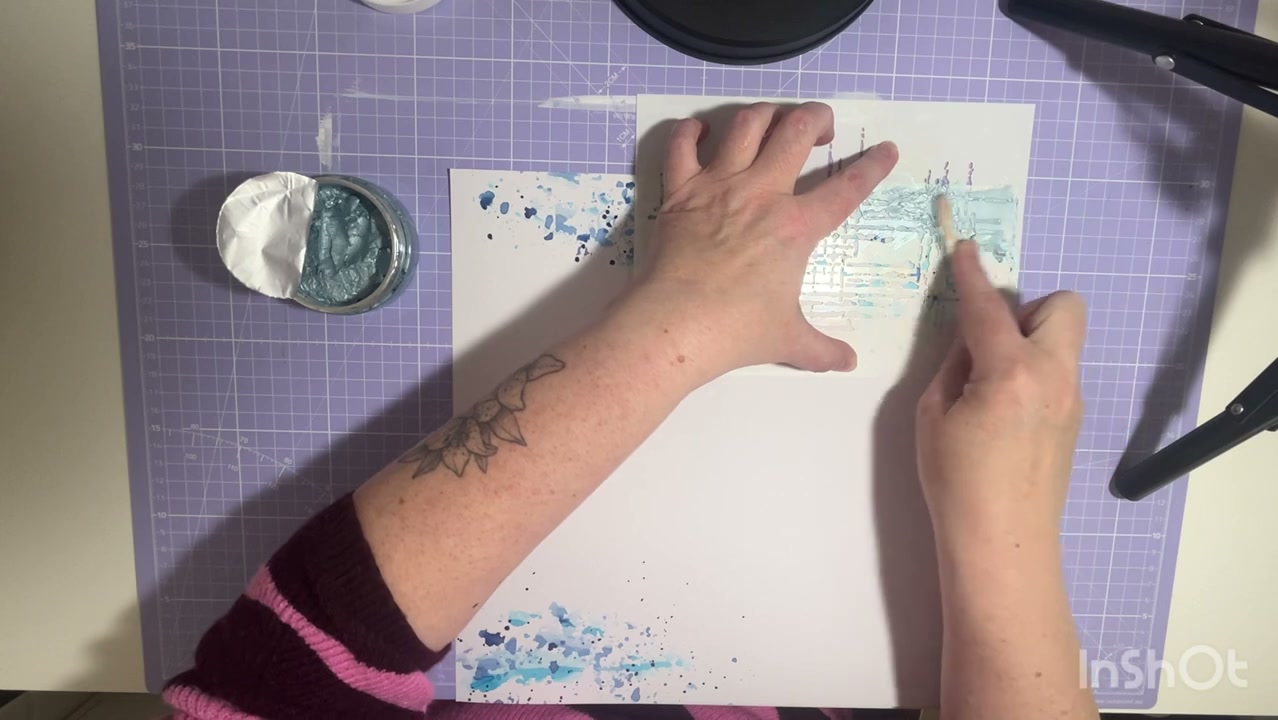
Lay a grid or woven-style stencil over your painted area and apply Nuvo embossing paste with a palette knife to create a raised, textured grunge layer. The combination of fluid paint splatters and crisp stenciled texture is what gives this look so much depth, and it dries fast so you can keep moving.
Step 3: Trim Your Patterned Paper and Photos
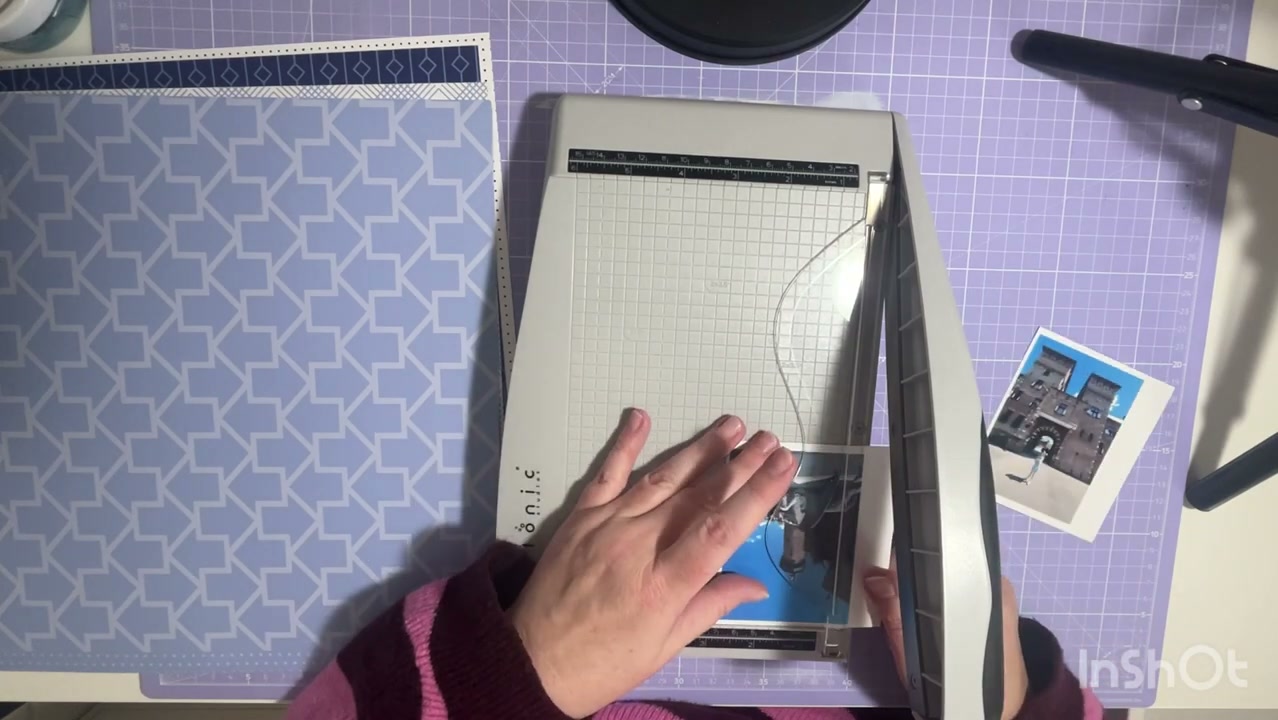
Use your paper trimmer to cut a coordinating strip of patterned paper from the April 2026 Color Kit, then size two monochromatic blue photos for your focal points. Angelica chose architectural travel photos that pick up the same blues and grays as the painted background.
Step 4: Frame and Position Your Photos
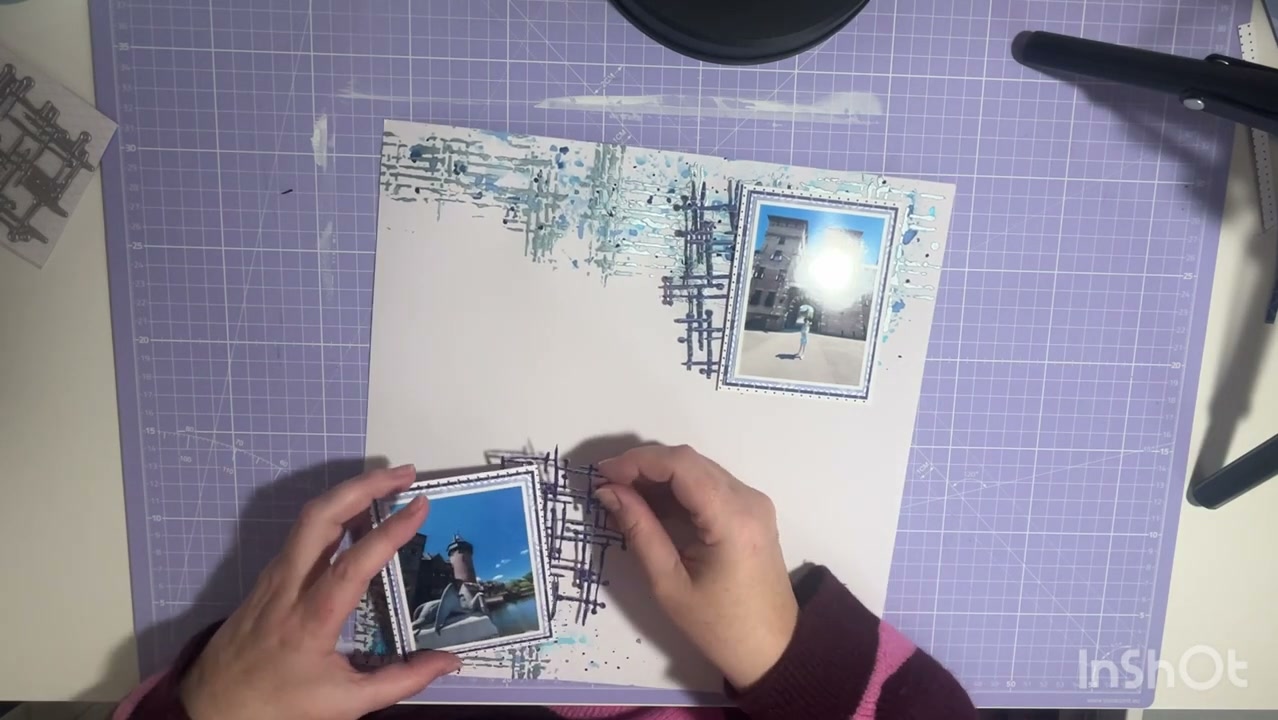
Mat your photos with white cardstock from the April 2026 Cardstock Kit and finish them with dotted navy borders. Place one photo in the upper right over the textured paint and one in the lower left, anchoring the page on a diagonal so your eye moves naturally between them.
Step 5: Layer Ephemera Tabs and Die Cuts
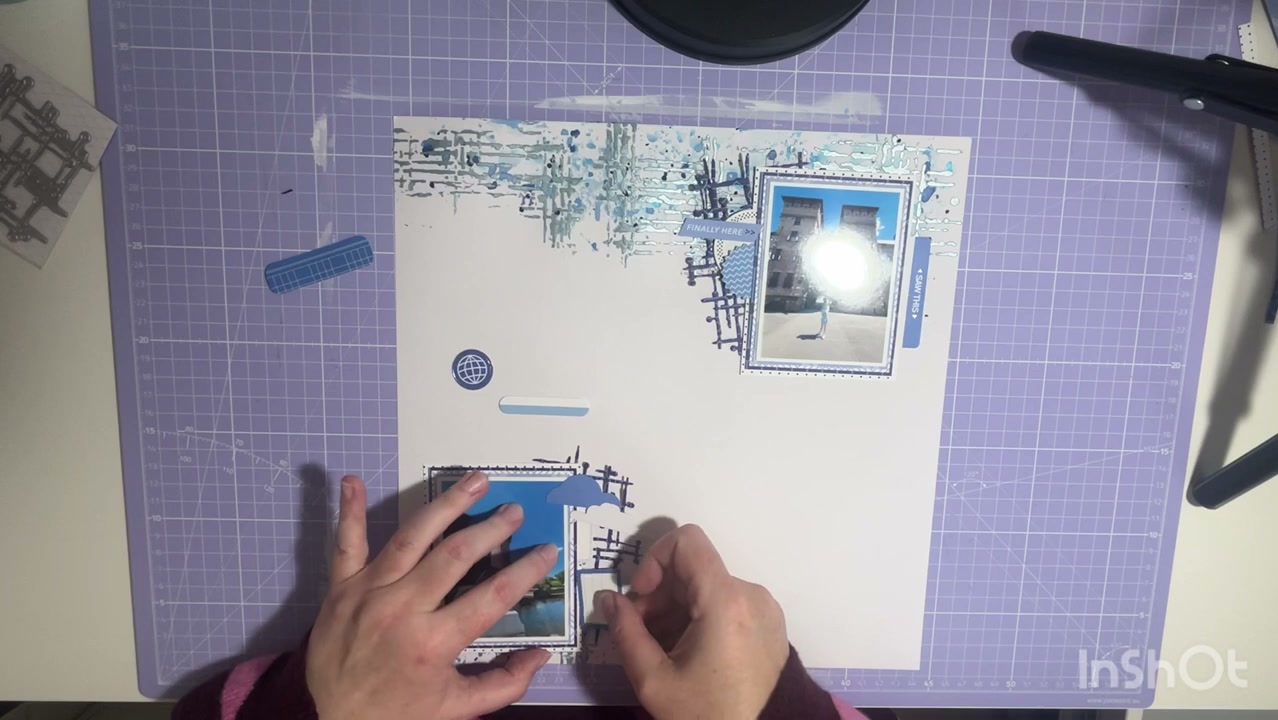
Choose tabs, arrows, and travel-themed die cuts from the April 2026 Main Kit (with Patterned Paper) ephemera and start tucking them around your photos. Tabs like FINALLY HERE, SAW THIS, and LOVED THIS TRIP add storytelling, while cloud and chevron die cuts give your eye something to follow into and out of each photo.
Step 6: Add the ESCAPE THE RUSH Title
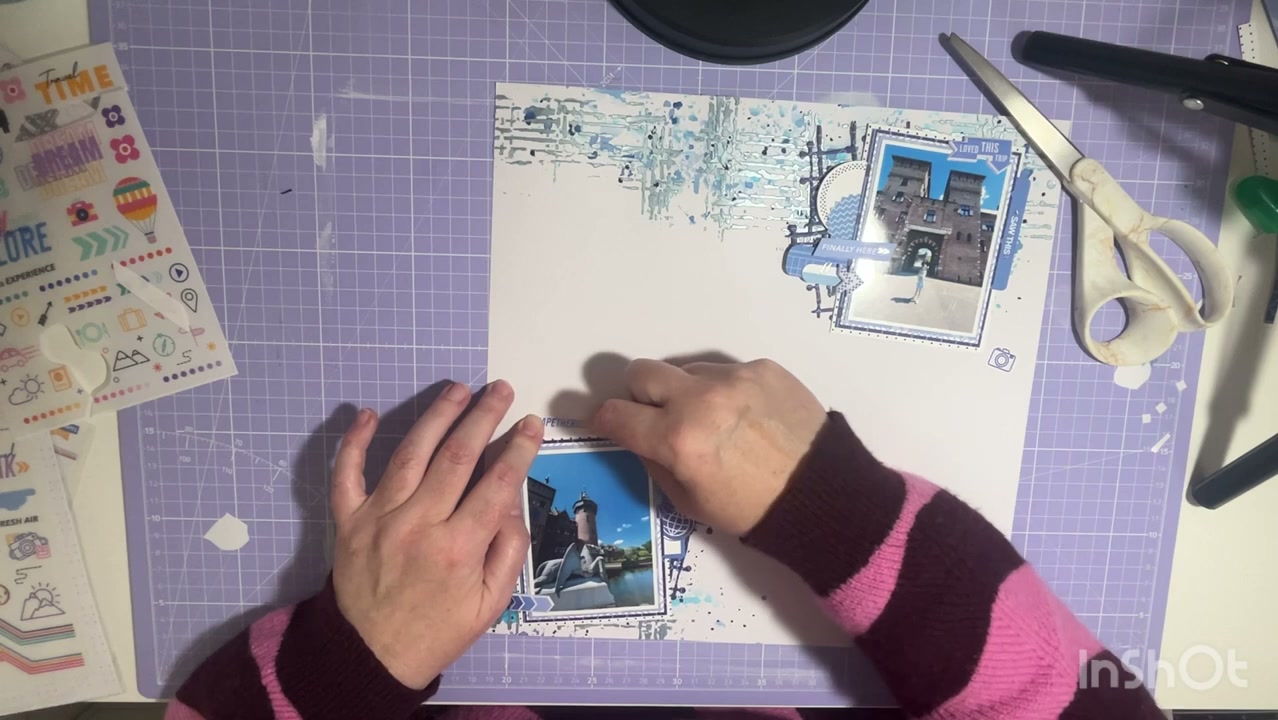
Pull alphabet and word stickers from the kit and build your title across the negative space between your photos. Angelica went with ESCAPE THE RUSH to match the moody, slow travel vibe of the page, but any short phrase from the sticker sheet will feel right at home here.
Step 7: Finish with Dimensional Detail Embellishments
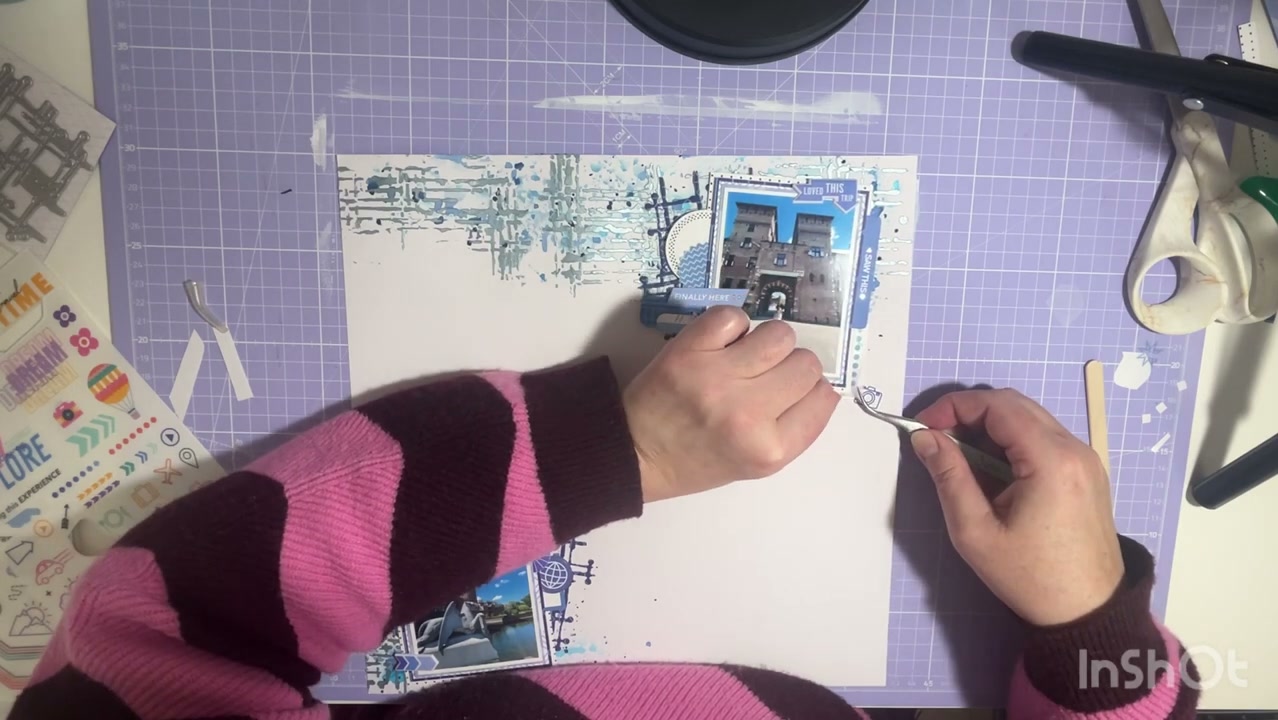
Use a pair of tweezers to add small dimensional dots, tiny chevrons, and accent stickers along the edges of your tabs and frames. These little finishing details add sparkle and polish and are what makes a layout feel truly finished.
Products Used in This Tutorial
Mixed Media Supplies
The gesso, gel medium, distress inks, brushes, and mixed media paper I actually reach for - all in one curated list.
See my mixed media picks →As an Amazon Associate I earn from qualifying purchases.About the Designer
Angelica de Bruin
This post first appeared on the Hip Kit Club blog on June 2, 2026.